When DIY Works Fine
Let us start with this: Starlink is designed for self-installation. SpaceX put serious effort into making the setup simple. If the following describes your situation, DIY will probably work fine:
In these cases, save the money and do it yourself. Open the box, set the dish outside, plug it in, and connect to Wi-Fi. It takes about 15 minutes.
When Professional Installation Makes a Real Difference
The performance gap between DIY and professional installation becomes significant in certain situations:
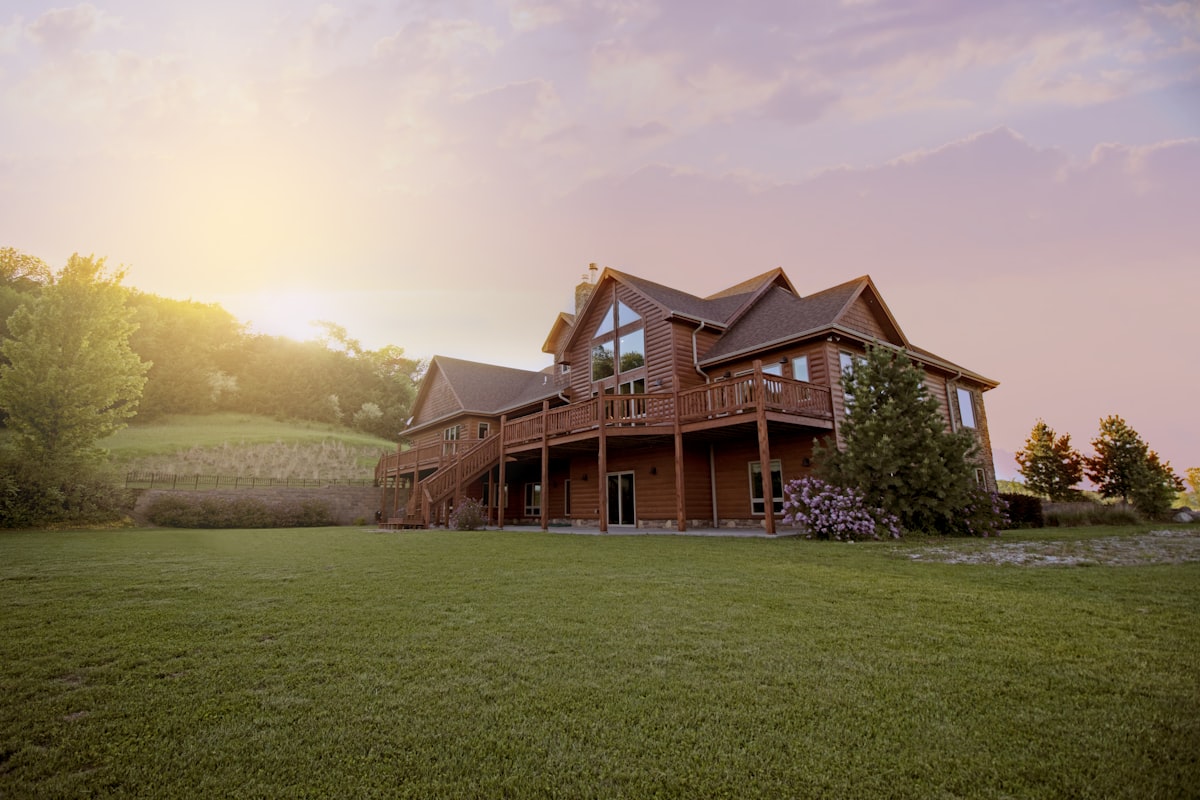
Heavy tree cover. If your property is surrounded by trees, ground-level placement will result in constant obstructions. A professional can mount the dish on the roof peak, a chimney, or a tall pole to get above the treeline. We regularly see speed improvements of 50 to 100 Mbps or more just from relocating a dish from the ground to the roof.
Multi-story or steep roofs. Getting a satellite dish securely mounted on a two-story roof requires ladders, safety equipment, and experience working at height. This is genuinely dangerous if you are not comfortable with it.
Clean cable routing. If you want the cable running through your wall with a sealed pass rather than draped through a cracked window, professional installation gets you a clean, permanent result.
Network extensions. If you need internet in a detached workshop, barn, or guest house, a professional can set up point-to-point wireless bridges or run Ethernet to extend your network beyond the main house.
Extreme weather locations. Properties in hurricane zones, heavy snow regions, or areas with extreme heat need mounts and hardware choices that account for local conditions. UV-rated hardware in Arizona, hurricane-rated mounts in Florida, snow-shedding angles in Minnesota — these details matter for long-term reliability.
The Speed Difference Is Real
This is not marketing. The physics are straightforward: a dish at ground level sees less sky than a dish on a roof. Less sky means fewer available satellites, which means lower speeds and more frequent dropouts.
On properties with moderate tree cover, moving a dish from ground level to a roof peak typically adds 30 to 80 Mbps to average speeds and eliminates most intermittent disconnections. On heavily wooded properties, the improvement can be even larger.
If you are getting 60 Mbps on a ground mount and want closer to 150 to 200 Mbps, dish elevation is almost always the answer.
What Professional Installation Costs
Professional Starlink installation from companies like ours typically runs $200 to $500. The range depends on mounting complexity, cable routing, and whether you need network extensions. A simple roof mount with a short cable run through one wall is at the low end. A tall pole mount with buried conduit and a mesh Wi-Fi system is at the high end.
Combined with the $349 equipment cost and $50 to $120 monthly service, total first-year cost with professional installation is roughly $600 to $850 more than DIY. That premium buys you better performance, a permanent weatherproof mount, and clean cable routing that protects your equipment for years.
What We Actually Do During an Installation
The whole process takes 1 to 3 hours depending on complexity.
Our Honest Take
If you have a clear line to the sky from an easy-to-reach location and you are not picky about cable aesthetics, save your money and do it yourself. If your property has tree issues, you want a permanent roof mount, or you just do not want to deal with it, professional installation is worth it.
Book an installation or ask us a question if you are not sure which route makes sense for your property.